Showing posts with label Shabby Chic. Show all posts

Monday, June 1, 2015

DIY: Simple Closet Makeover on a Budget

Hello! I have been dreaming about my very own beautiful "His & Hers" closet since I started this blog 3 years ago, and it has finally happened! Stay tuned for the details below.


I do not know why it took me so long to make this amazing closet happen, but I am glad I did and it was not has horrible as I thought! My husband was ecstatic to move back into our closet, I had kicked his clothes out to the laundry room and he hated it, but I need the extra room. I'm sorry honey, but welcome back!

Supplies:
  • 12x1 utility shelving (8 ft.) - 1 on hand, purchased 2 for $12
  • 4x1 pine boards -  on hand
  • 2 storage cubicles - on hand, purchased a couple of years ago for storage in my laundry room
  • 1 dowel rod (1 1/8 in.) - 1 on hand, purchased 1 for $10
  • 4 dowel rod end support - purchased 2 packs for $6
  • white paint - on hand
TOTAL- $28!

The first thing we did was remove everything from our closet. That was the worst part, the things that accumulate over the years is insane. I did some major decluttering and got rid of (donated and threw away) a lot of clothes. I do not have a picture of the "true" before picture because once I start a project, getting my camera to capture it is just not possible when I'm on a cleaning mood.


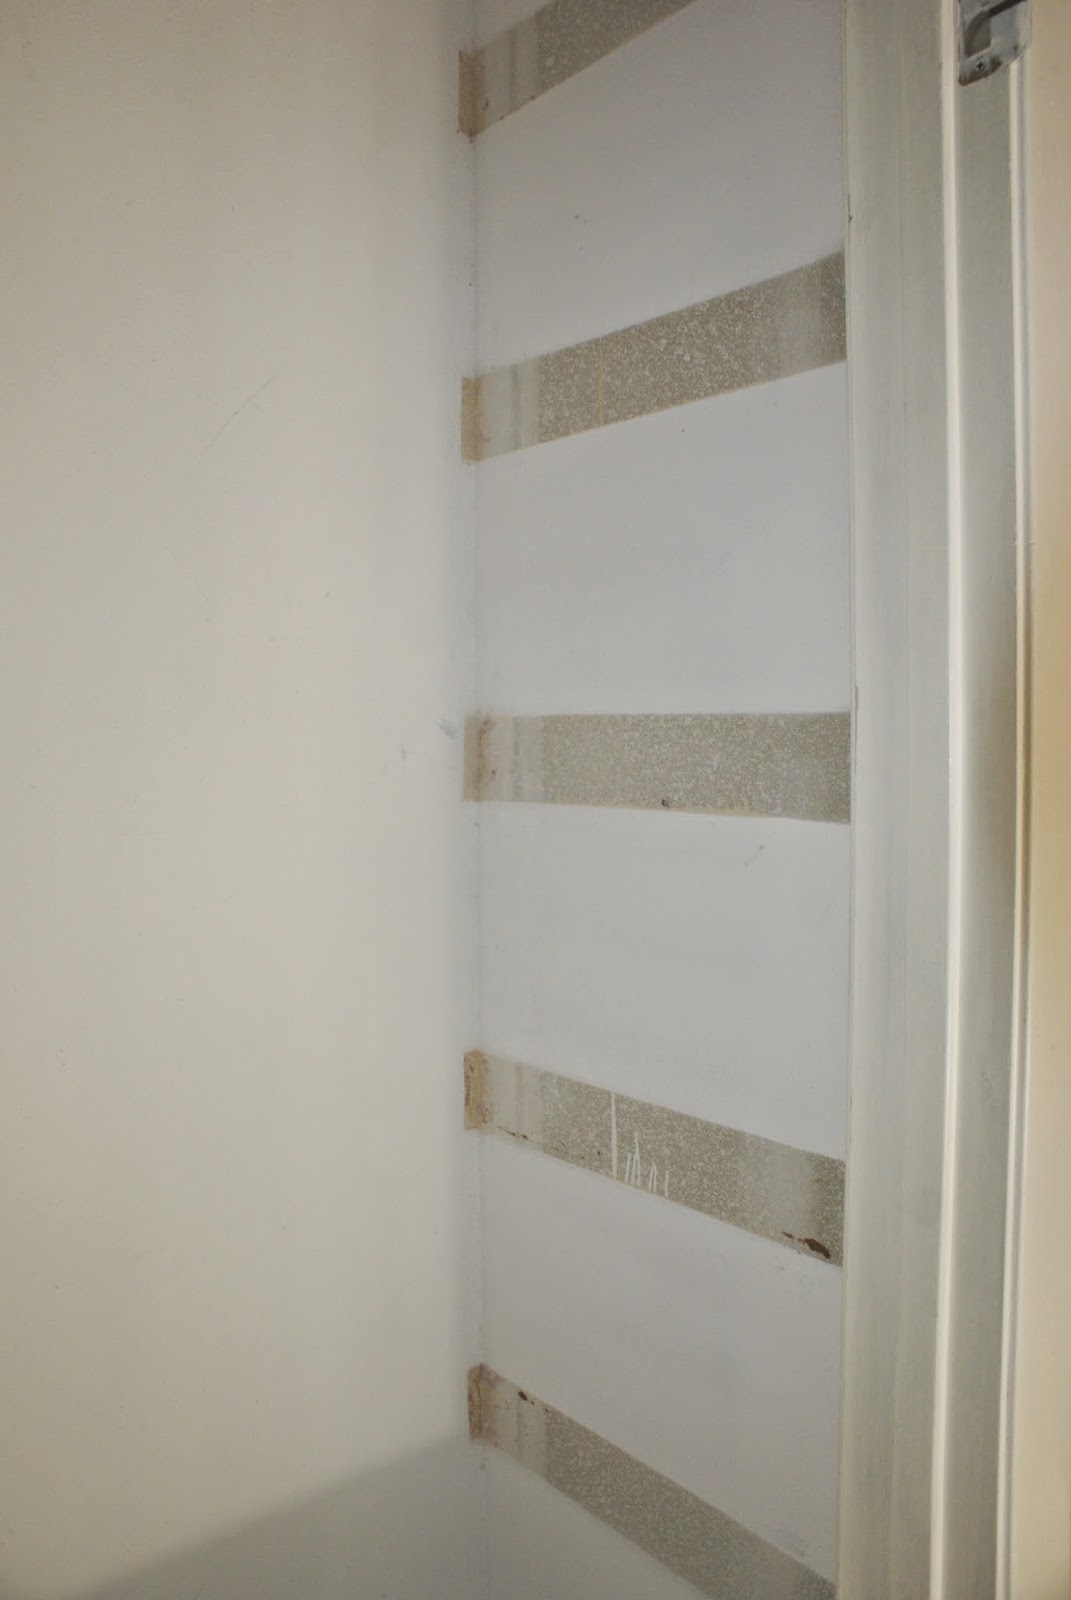
Next, my husband removed the old hardware and boards holding the shelf. Be very careful while doing this, it will take some patience. Do not make a hole in your wall.

My four year old son helped by dissembling both 4x2 storage cubicles, we had to take them apart to cut them and make 3x2 storage cubicles to have the right length. 

I painted the areas where my husband removed the boards and assembled the storage cubicles.

This is where I decorated with scrapbooking paper (optional). Place the shelf over the two side boards.

Next, screw boards to hold the top shelf and paint the boards.

Install the dowel rod support hardware to each end.

One side is done, next side is next.

After finishing the other side, it should look like this.

Next, move to the top boards and install the rod support to each end.

It should look like this.

And you are done, lastly is organizing the mountain of clothes I'm sure you have. We added more shelves to wrap around for more storage.

This is the top of my closet!

On the top left shelf I have baskets containing hats, gloves, swimwear, and extra jeans.

On the top right shelf I have my husband work clothes.

On the left side I have my pajamas, workout clothes, and my frame necklace holder.
On the right side I have a holder to keep our belts and his ties, and his t-shirts.

I'm so obsessed with this rose gold necklace holder I made; it is so beautiful! I created this with a 8x10 picture frame, a thin piece of plywood, cup hooks, and spray paint.

On each storage cube I keep:
Top cubicles
  • sweaters
  • sunglasses
  • jewelry
  • basic t-shirts
  • t-shirts
  • over the shoulder bags
Bottom cubicles
  • pretty heels
  • colorful jeans
  • shorts
  • bras
  • "Her" socks/underwear
  • "His" socks
My jewelry cube contains bracelets, ear rings, and rings. I made the bracelet holder with a paper towel tube, newspaper stuffing, fabric, piece of wood as a base, and a stick.

I love this frame, my rose gold wedding ring set holder. I made this with just some fabric and polyester stuffing.

This is the bottom of my closet!

On the left bottom, I keep my "most used" shoes here, some aren't visible underneath my clothes.

On the right bottom, I keep my husbands "most used" shoes here, next to the chevron laundry basket.

I keep the rest of the shoes that does not fit in our closet under our bed.


I hope you found some inspiration to tackle your own closet.
Thanks for reading!


Monday, February 16, 2015

DIY: Hollywood Inspired Makeup Table Mirror Lights

Makeup is one of those special things that I am absolutely obsessed with, and with that obsession comes an obscenely amount of pretties that need a place to live. I have always been fascinated with the way one can create something from essentially nothing. Just think about how a couple of pieces of wood are combined to make something as a grand as a home, or simple as a chair, or even a beautiful home to store all my makeup; it's like my own personal form of magic. I love how I can make anything from piles of wood just like how I can create different illusions by shading and lighting my face. I want to show you how I combined two of my loves in a project. This whole DIY project is super easy and inexpensive compared to actually buying a real mirror with lights. I hope you all enjoy!


Supplies:

  • Framed mirror
  • Ping pong balls ($8.00 at the time of this post)
  • String lights (on hand from Christmas clearance)
  • Exacto knife (on hand)
  • Command mini hook (on hand)
  • Hot glue gun (on hand)

Optional- make your own framed mirror

Step 1: (skip to Step 2 if you have a framed mirror) Cut the four pieces of moulding at a 45 degree angle. Once you have all your pieces cut, use the wood glue and glue all the four pieces together. Do not glue to the mirror yet, especially if you plan to spray paint it a different color. After the glue dries, spray paint the frame to the color of your choice. Lastly, use wood glue to glue the frame to the mirror and wait until it dries.


Step 2: Use a command mini hook to hold the end of the string lights in place.


Step 3: Use your hot glue gun to glue the all the light bulbs around the frame.


Step 4: After the light bulbs are glued to the frame, grab your ping pong balls and your Exacto knife to make 'X' incisions.

Step 5: Place all the ping pong balls in the light bulbs and done!

Thanks for reading!


I will be posting my entire makeup collection on my other blog, isloveslife.blogspot.com, coming soon!


Thursday, May 29, 2014

DIY: My Shabby Chic Craft Closet

My craft closet space has also been one of those DIY projects that I started a year ago and have continually worked on it throughout the year. I am happy to finally be able to blog about it! I'm so in love with how it turned out. This post is filled with tons and tons of small DIY projects! I love it. :)


I have always had a passion for crafting, but it wasn't until a couple of years ago that I really started to become passionate about my DIY's. That's when my craft supplies started to pile up. I had no organization for all my supplies and it became such a hassle to find anything in the boxes and laundry basket where I kept all my things shown above. I just knew I had to do something before I went crazy. Haha. I hope the "before picture" shows what I was dealing with, it was a complete mess!

The first thing I did was remove the unnecessary wood that was used to hold (nonexistent) shelves, this closet only had one shelf and I used it as a table to hold my sewing machine, that's what originally gave me the idea for the craft closet!


After I finished removing the wood, I painted the walls while my husband cut the wood for the shelves and glue my tabletop.


He used a piece of thin plywood as a base and glued (4) 1x4's on it for the tabletop. After a full 24 hours of drying and having some of the heaviest books I own sit on top (Star Wars and History books won, who knew?). My husband built the shelves for the tabletop to lay on top, and it fit perfectly. LOVE!


I stained the table with Minwax wood finish twice to get the darkest effect.


I will then prime the shelves with a white coat, then I finished it with a coat of my favorite Valspar pink paint! Don't they look so gorgeous?? :)


Next, I painted my pegboard with an ombre effect. I love how it turned out! I used three colors to make this possible. A dark color of blue, a lighter color of blue and white color paint.


**After this point I stop taking pictures of the process, SORRY! I will try to explain the best I can.**

I wanted to have three top shelves to hold my craft items. The very first shelf  is much wider than the rest because I wanted to store my yarn, spray paint and paint cans. The second and third shelf I wanted to store much smaller items so the shelves are not as wide. On the second shelf, I have small containers of Valspar paint from Lowes. On the third shelf I have craft glitter, paper cutters, and acrylic paint.


Next to the shelves are file holders where I store sandpaper, stencils, iron-ons, stickers, 6x6 scrapbook paper, and 12x12 scrapbook paper. I found a three piece acrylic file holder in Office Depot and the cute file folders at the dollar spot in Target.


I am using a tension rod that I bought from Kmart to display my pretty ribbons. I bought almost all my ribbons from TJ Maxx. They had a few packages of ribbons for a really good price!


Next, I used a pegboard to store most of my sewing essentials. I painted the pegboard with my favorite Valspar mint green paint. I LOVE IT!


Side views. :)


On the left side, I have 3 mason jars that I painted and sanded down for a distressed look. I have one holding small paint brushes, sharpies, and color pencils.


Next to the mason jars I keep ear-clips, my extra blouse buttons, hooks, and safety pins.


I also have an inspiration board where I pin inspirations from magazines to my cork board.


And right underneath I have a chalkboard with chalk to scribble lovely things.


On the right side, I have three frames that I made specifically for sewing.


The first two small frames I used floral fabric and stuffed it with polyester stuffing to hold the needles and pins. 


The third frame I made it into a thread holder. I did this by using a piece of plywood to fit on the frame, drilled holes and glued small cut round sticks of wood at a slight angle.


The purple heart next to the thread holder I keep all my studs and spikes, snaps, pins, and jean buttons. I found this gem at a thrift store.


I bought my sewing machine at Walmart. It's the Brother Computerized Embroidery and Sewing Machine, SE-400. I absolutely love it! I completely recommend it if you are looking for a good embroidery and sewing machine.

Behind my sewing machine, I keep two small baskets to hold a some more of my thread and ribbons.


The shelves holding the tabletop is next. In this picture, I am demonstrating how I am able to hide the sewing machine wire underneath using command hooks.


I keep contruction paper here.


I keep large mason jars in the back with pompoms and rhinestones. The smaller mason jars contain magnets, pegboard hooks, and command strips.


I keep fabric scraps in the large rose box and jewelry making supplies in the smaller rose boxes.


 I keep my embroidery equipment here.


I keep colorful felt here.


I keep colorful thread in a big jar, in the purple container I keep all my buttons, and a picture of me and my son.


I keep some of my fabric here.


 Lastly, the pegboard on the door.


All kinds of scissors!


 I keep two rolls of brown wrapping paper, embroidery hoops, and scissor decor.


I keep hand punches, decor tape, duct tape, and paint tape.


I keep clipboard that I painted with chalkboard paint, hand hot glue gun, glue, Mod Podge, Gorilla glue, and other types of glue.


And this is it!!


For tutorials shown in this picture:
  1. Shabby Chic File Cabinet Redo
  2. Shabby Chic Office Chair Redo
  3. Simple & Crafty Decor
I hope you got through this crazy long post and enjoyed it! If you have any questions about anything in this post, please do not hesitate to comment with your questions and I will try to answer it all. I hope you have a great day.

Thanks for reading!


Related Posts Plugin for WordPress, Blogger...